Journey
Administrator
A work schedule defines a team's service hours during a specific period of the day. The same schedule can be reused across multiple days of the week—for example, business hours from Monday to Friday. It's also possible to create specific schedules for special days, such as reduced hours on Saturdays or night shifts.
📌 Calendar prerequisite:
Registering work schedules is necessary to set up a calendar. Create the schedules before setting up the service calendars.
1 - Accessing the Journey

To access the Work Schedule function:
Access My Desk
Select the My Desk application from the applications menu.
Click on Settings
In the application's top menu.
Click on Journey
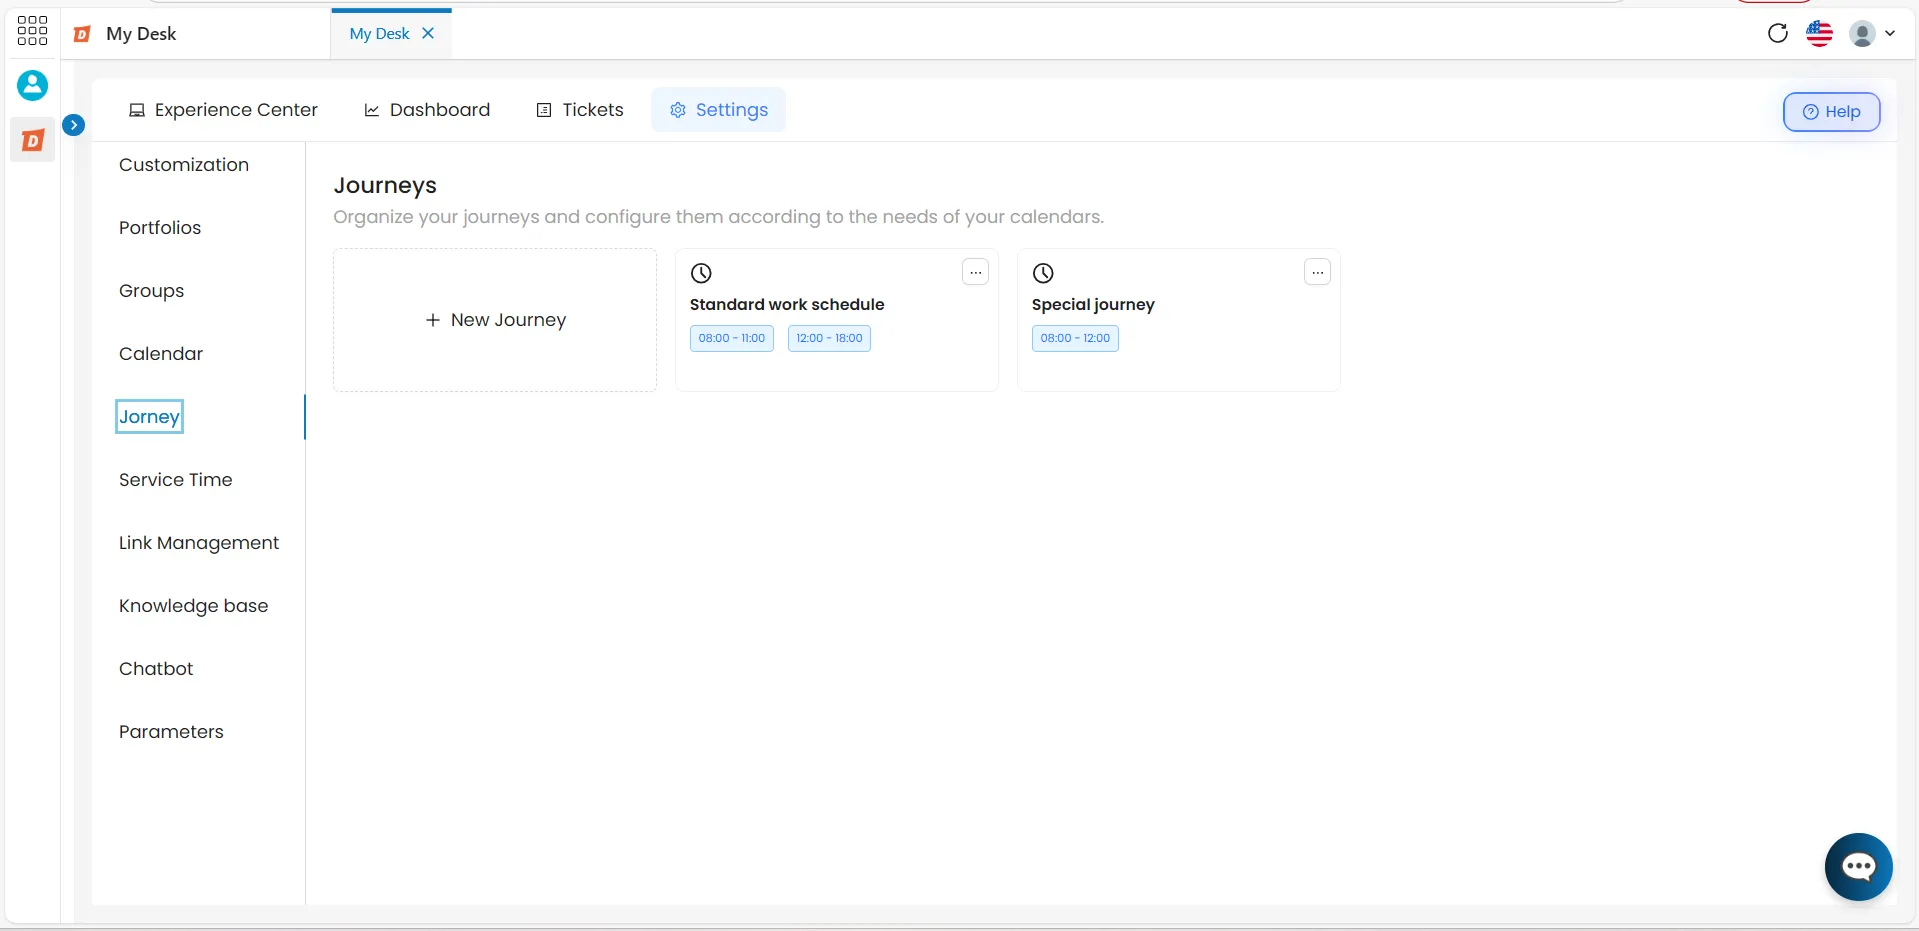
In the left-hand sidebar, a list of all registered journeys will be displayed in blocks.
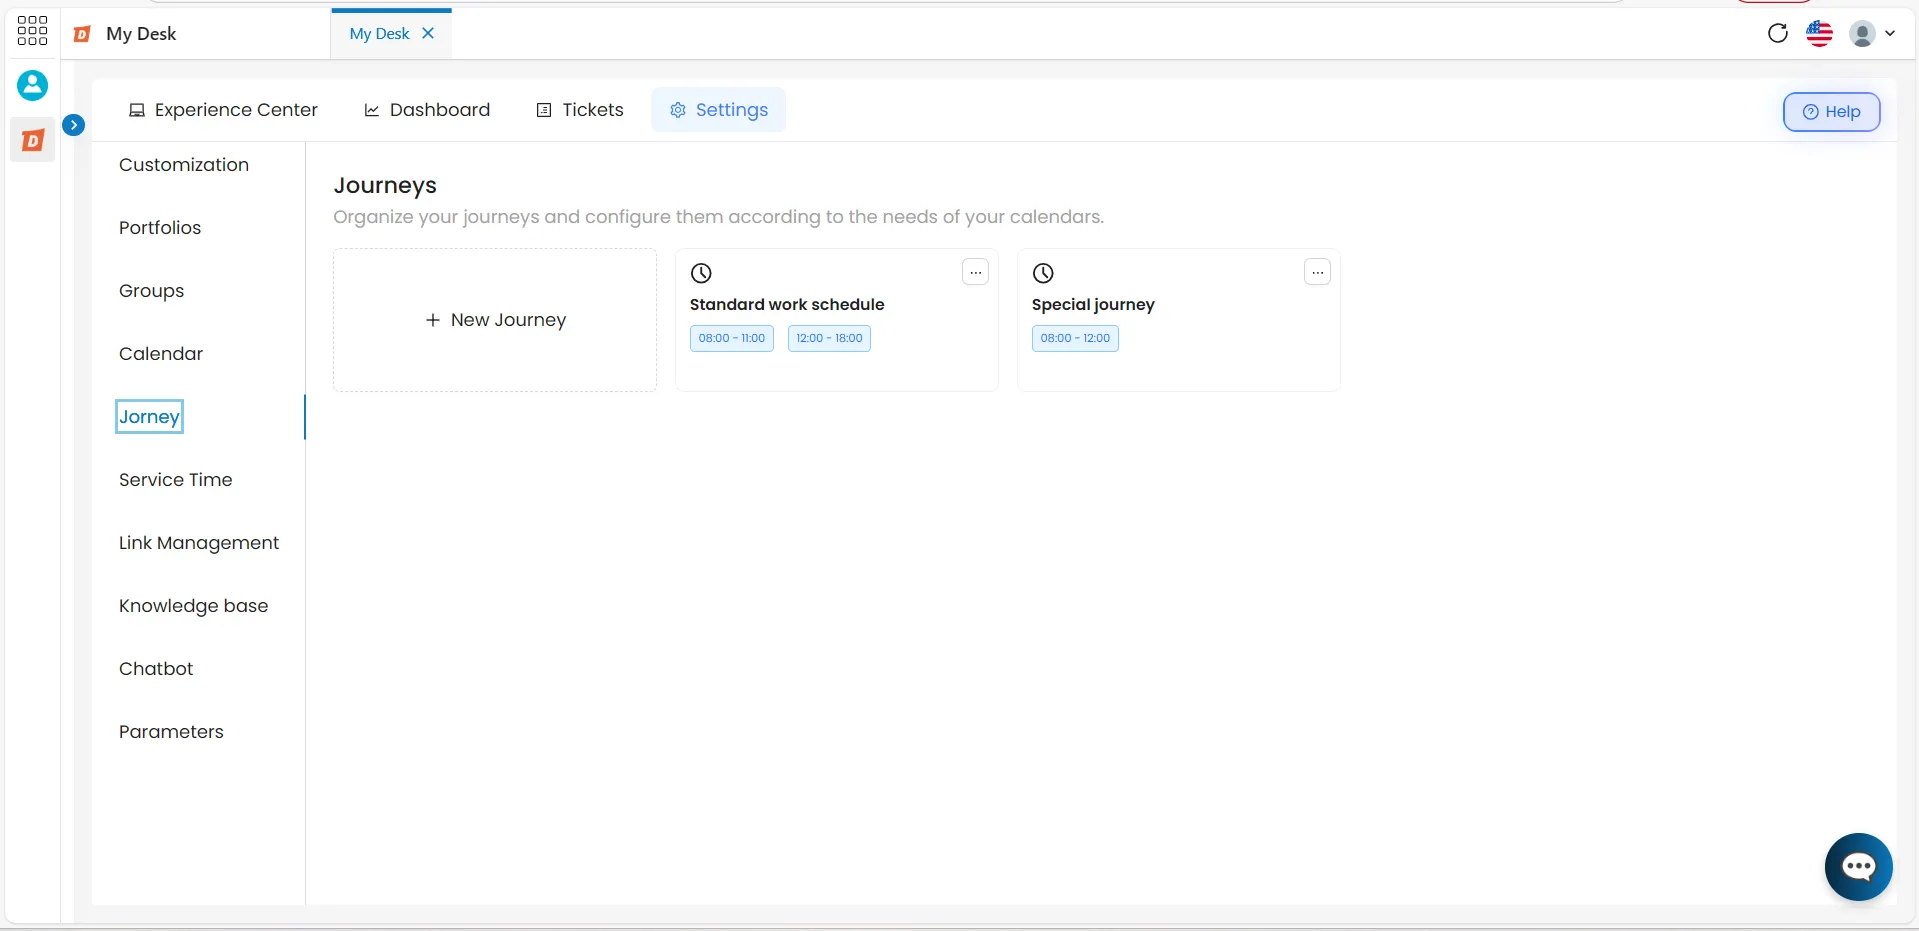
2 - Journey List

On the main Work Schedule screen, all registered schedules will be displayed, along with key information about each one, divided into blocks.
The first block, at the top left, contains the button to create a new journey [+ New Journey].
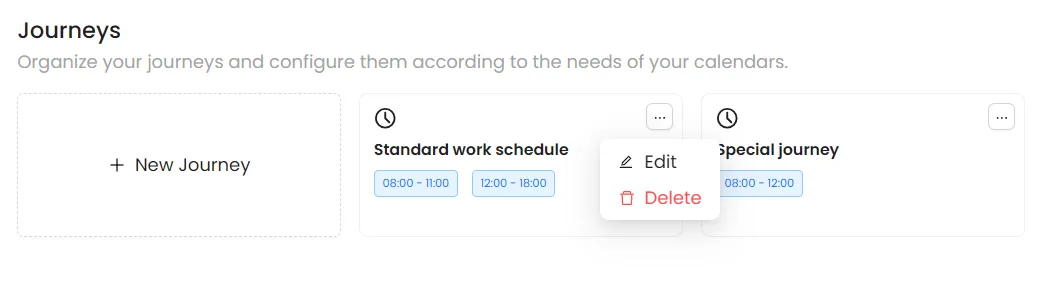
Each block in the list displays the following journey information:
Title
Short name given to the journey.
Example: Sales, Night Shift.
Time
One or more registered time periods.
Example: 08:00 - 12:00 / 14:00 - 18:00.
Actions [ ··· ]
Action button in the upper right corner of the block with the options Edit and Delete.
3 - Create a New Journey

To create a new journey, follow the steps below:
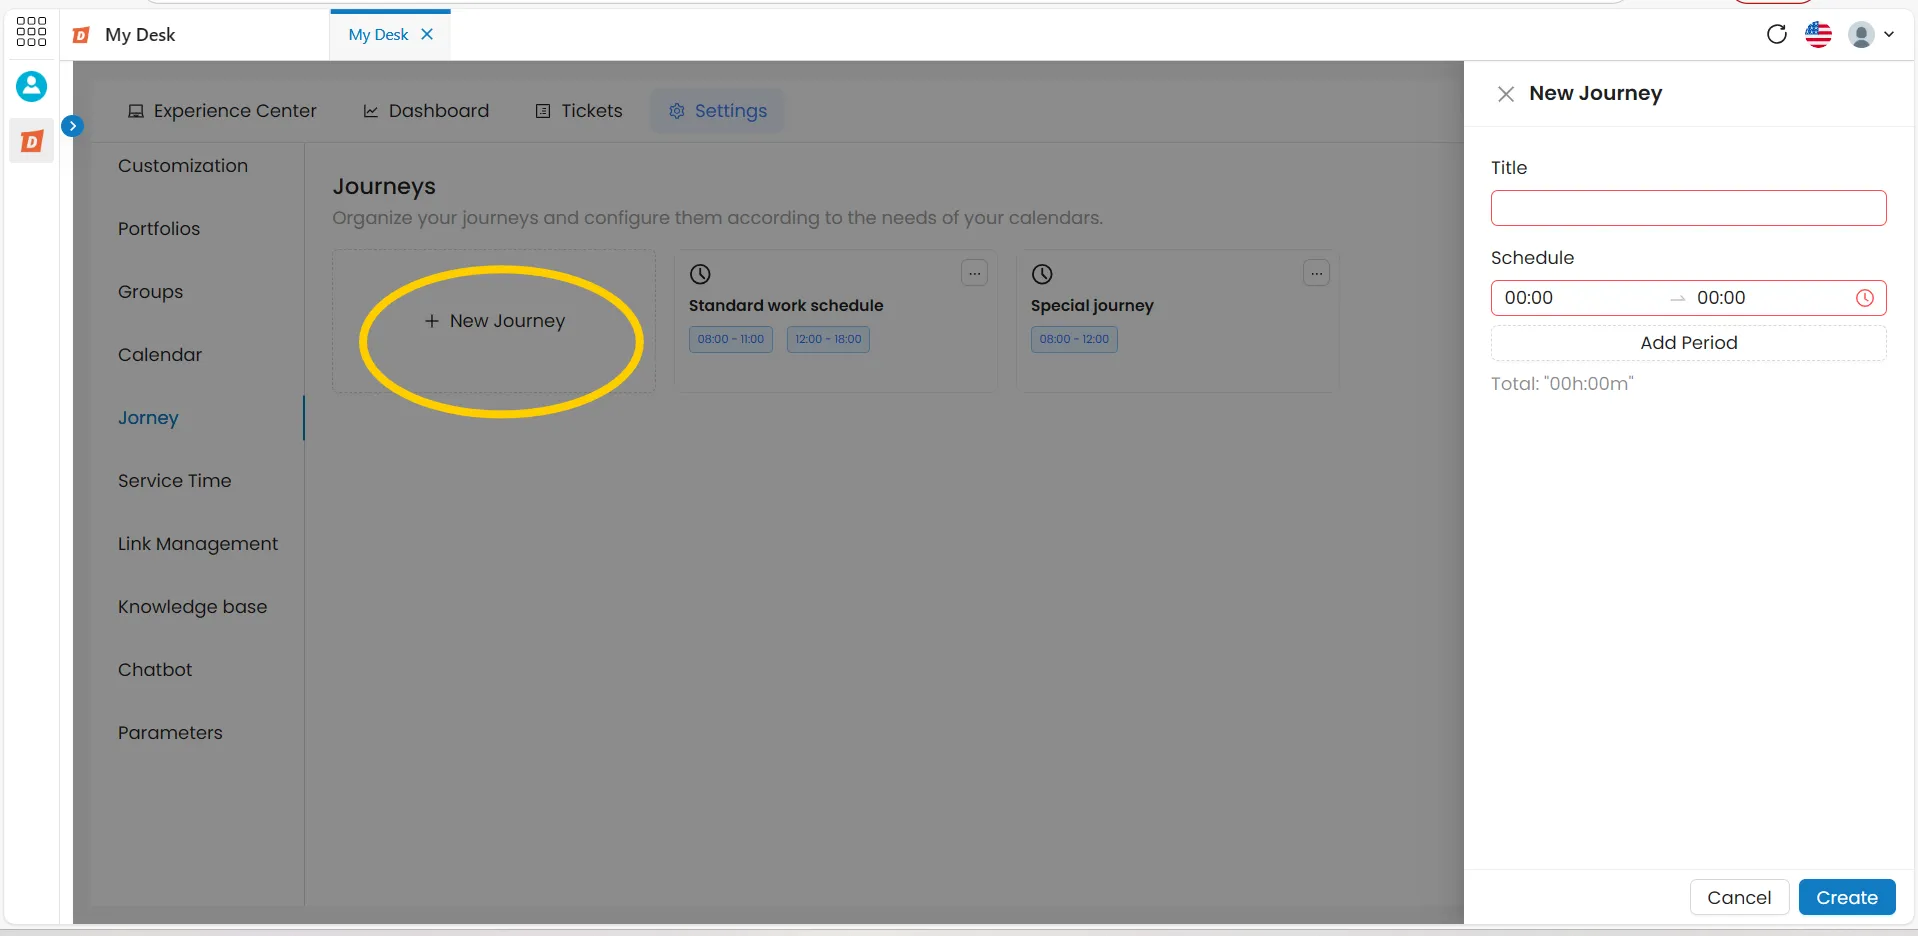
Click on + New journey
The button is located in the first block on the left of the list. A new creation window will appear on the right side of the screen.
Fill in the fields.
Title
Give the shift a short name. Example: Business Hours, Reduced Saturday Shift, 24-Hour On-Call.
Time
Please provide a start time and an end time in HH:MM format. — de 00:00 até 24:00. Example: 08:00 AM to 18:00 PM.
+ Add period
After filling in the first interval, two new start and end fields are automatically displayed. Use them to include an interruption in the day—such as lunchtime. Example: 08:00 - 12:00 and 13:00 - 18:00. You can add more periods to cover more interruptions.
Click Save
The journey will be added to the list. Click Cancel to return without saving.
💡 Example of use:
For a team that works from 8:00 AM to 6:00 PM with a lunch break from 12:00 PM to 2:00 PM, create two periods — 8:00 AM - 12:00 PM and 2:00 PM - 6:00 PM. The SLA will not be counted during the lunch break.
4 - Edit Journey

The information on the creation screen can be changed at any time via the journey list. To do this, follow the steps below:
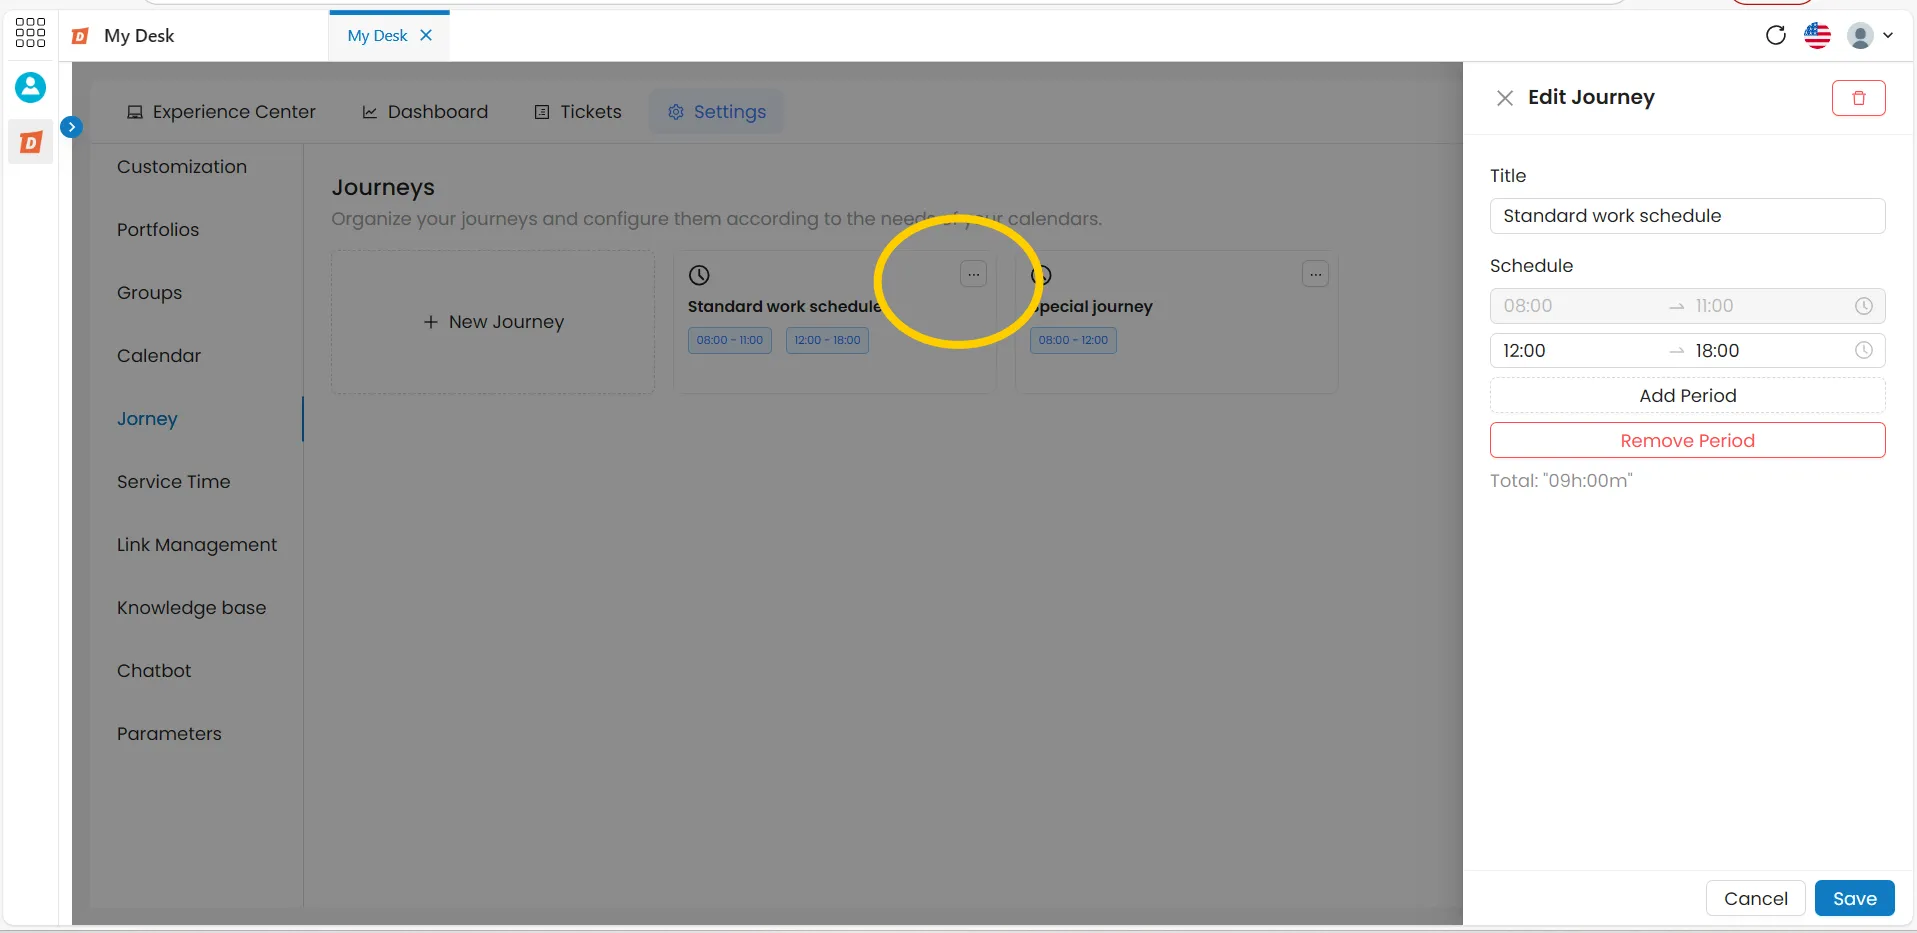
Click to edit
Click on the three dots (···) in the journey block and click on the edit option.
Or click directly on the journey block.
An editing window will open on the right side of the screen.
Edit the necessary items
Titles, times, or periods — add or remove as needed.
Click Save
The changes will be applied. Click Cancel to return without saving.
5 - Delete Journey

There are two ways to delete a Journey. To do this, follow the steps below:
5.1 - Deletion with action button
To delete a journey using the action button, follow the steps below:
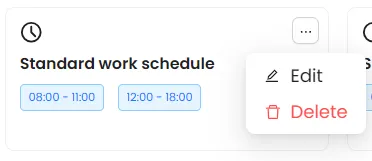
Click on the three dots (···) in the journey block
In the upper right corner of the block.
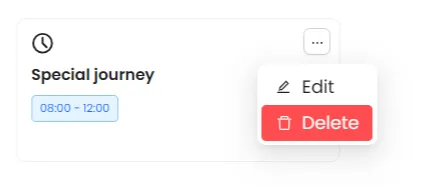
Click Delete
A confirmation message will appear informing you that this action cannot be undone.
Click the Delete button
A confirmation message will appear at the top of the screen. Click Cancel to return without deleting.
5.2 - Deletion with trash can icon
To delete a journey using the trash can icon, follow the steps below:
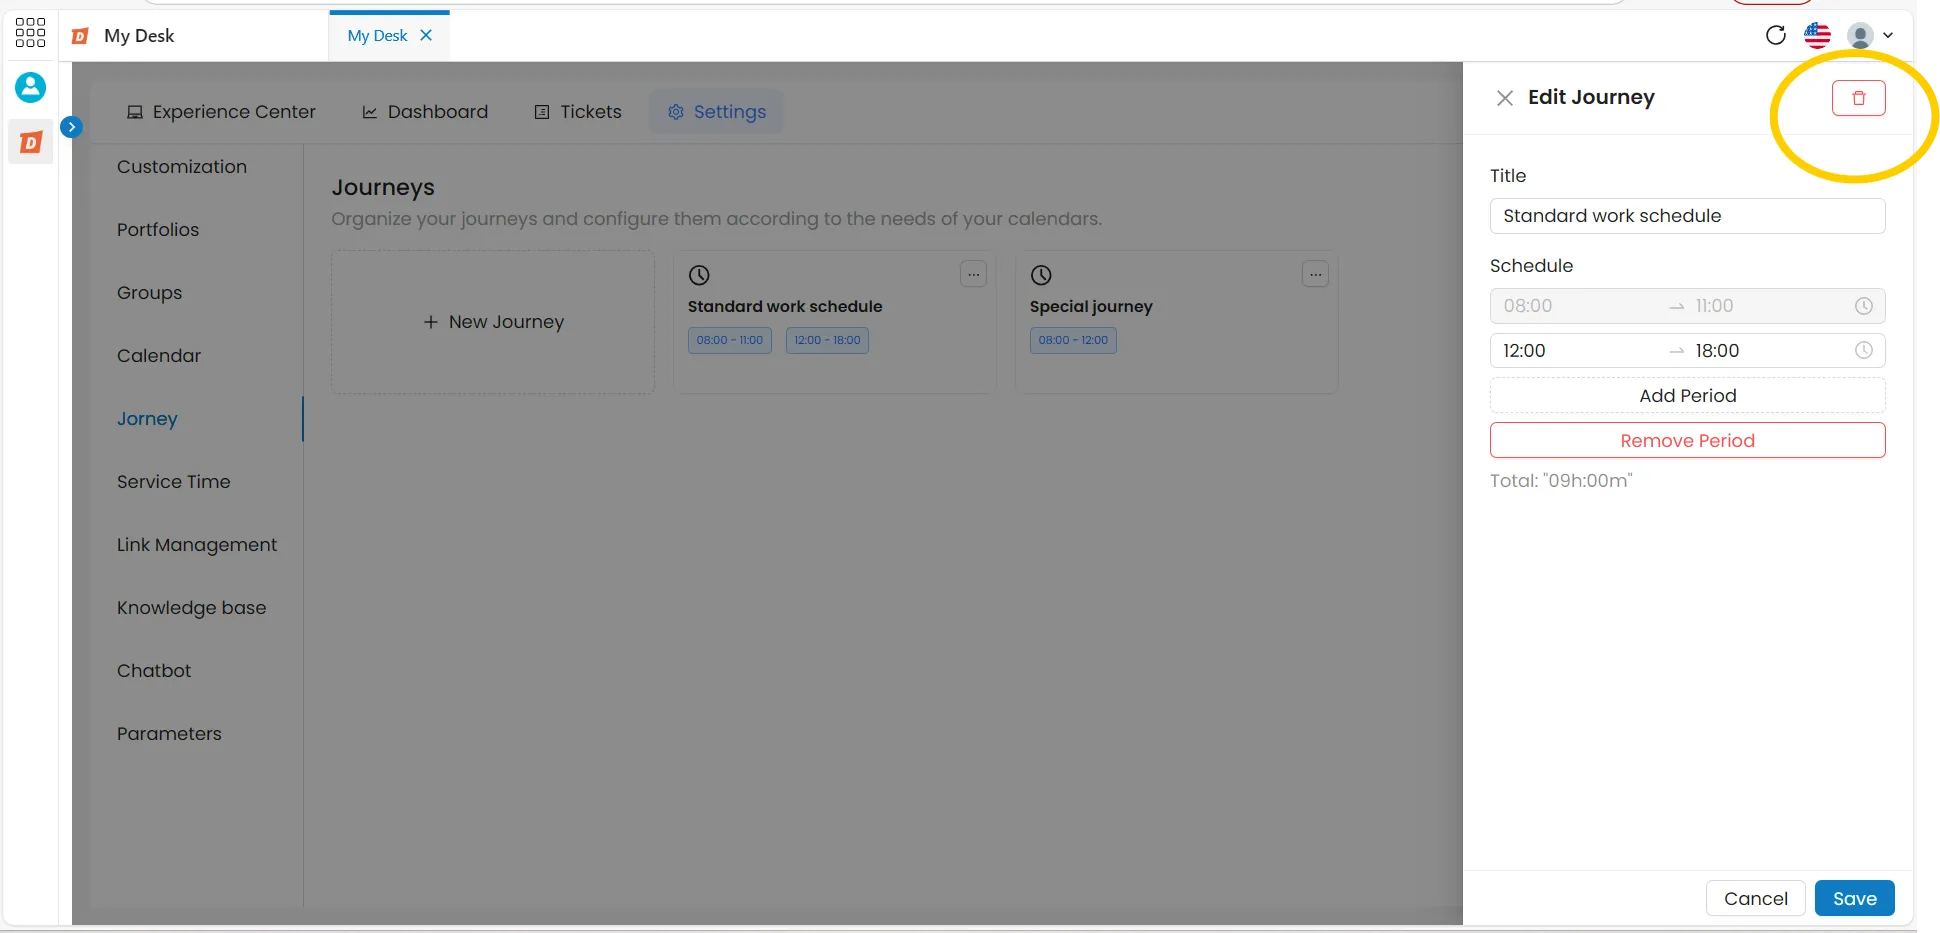
Click on the journey block
A window will appear in the right corner of the screen.
Click on the trash can icon
Located in the upper right corner of the window. A confirmation message will be displayed:
⚠️ Are you sure you want to delete "journey name"? After this action, all calendars linked to it will lose that journey.
Click Delete to confirm
A confirmation message will appear at the top of the screen.
⚠️ Attention:
When you delete a journey, all calendars that use it will automatically lose that link—which may impact the SLA calculation for associated activities. Check beforehand which calendars are using the journey.